DIY Christmas card

Here is our Christmas Pop-Up card! Simple and fun, it will make an excellent craft activity to do with your children! It will keep you busy and allow you to offer a beautiful card to your loved one, from your kids!
|
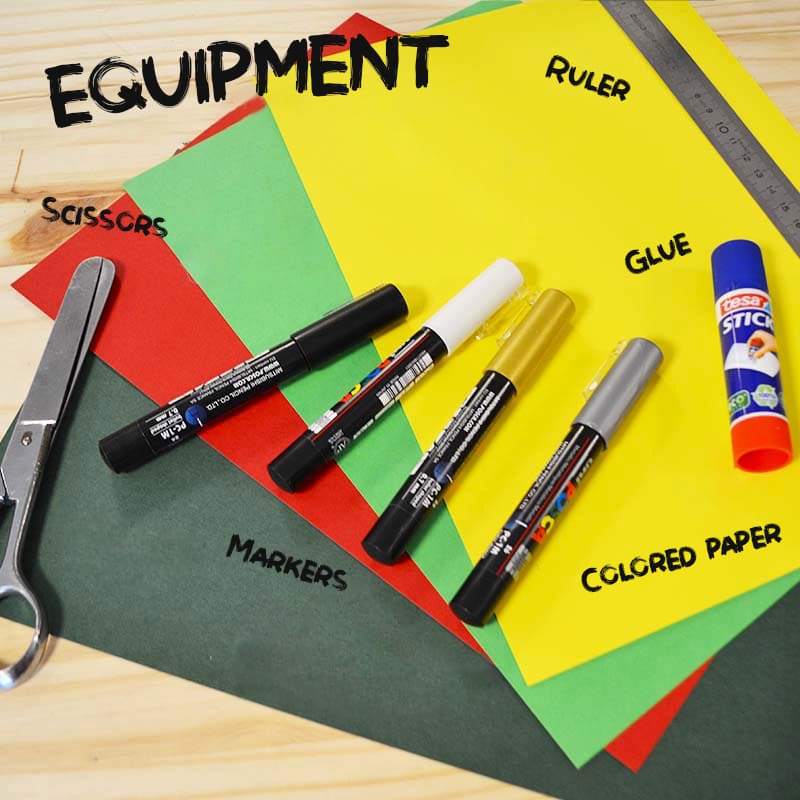
Equipment: Here is the equipment list needed: Color paper (green, yellow and red) Scissors Glue Markers Pencil Ruler You can also vary the colors with purple, red, or gray! |
 |
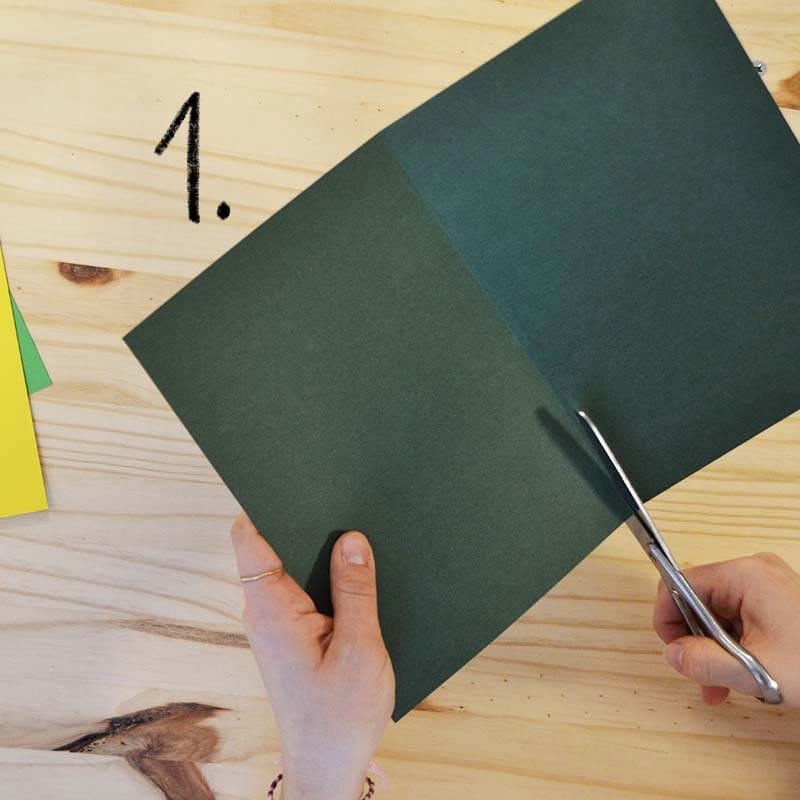 |
Step 1: Base Cut your red and green paper in half. Fold them in half. |
|
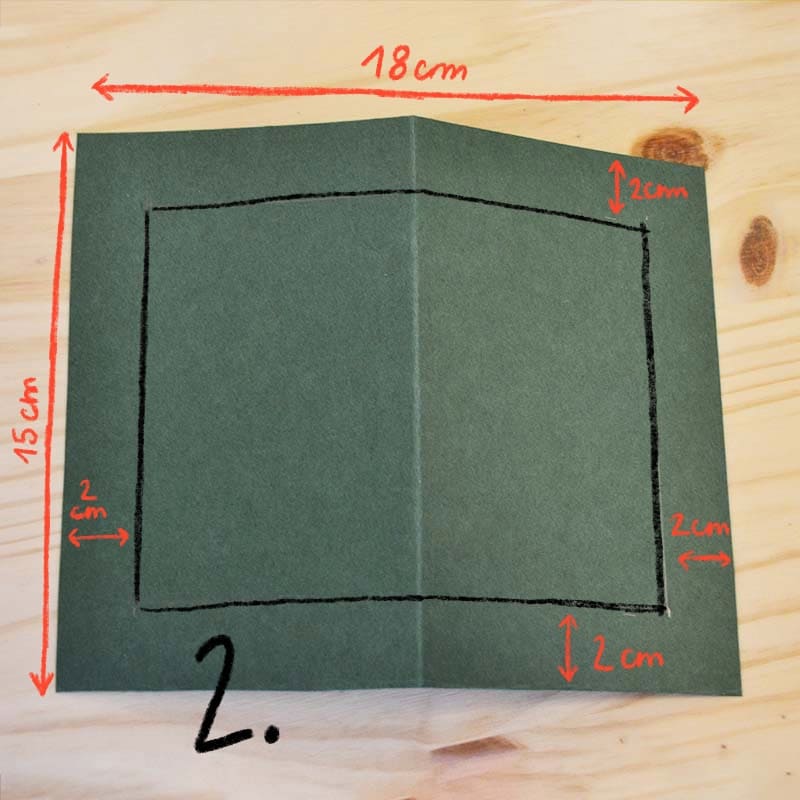
Step 2: Frame Take your green paper and cut it to these dimensions: 18x15cm or 7x5,9 inches. Using your ruler and pencil (or markers), draw a frame 2cm or 0,8 inch smaller than your paper. |
 |
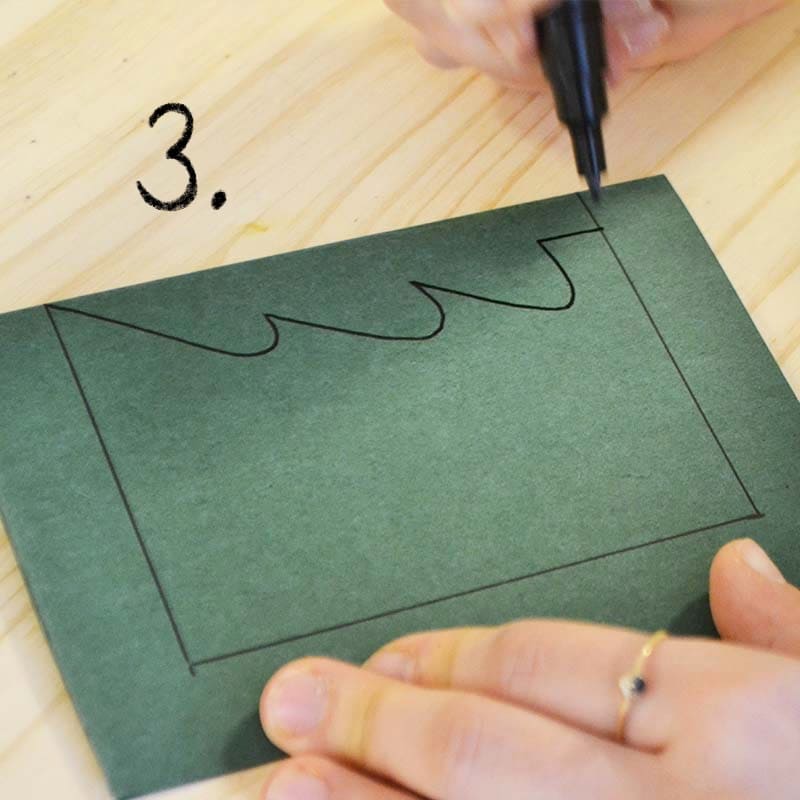 |
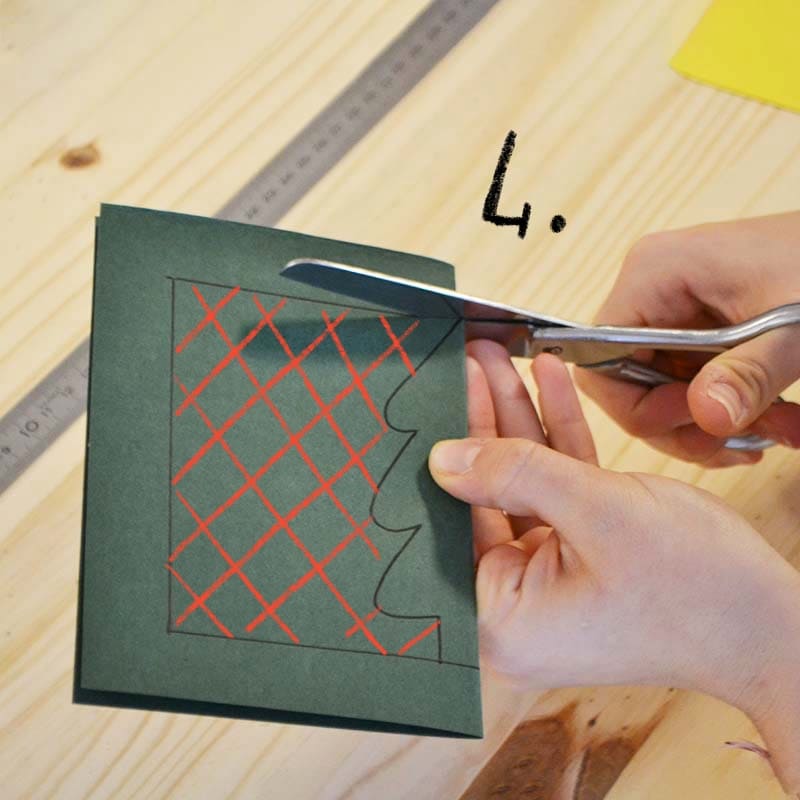
Step 3: Christmas tree Fold your green paper in half, with the frame on the outside. Draw half of a Christmas tree on one side using a marker or pencil. |
|
Step 4: Cut Cut out the hatched part in red. Thanks to the folding, your tree will be perfectly symmetrical. |
 |
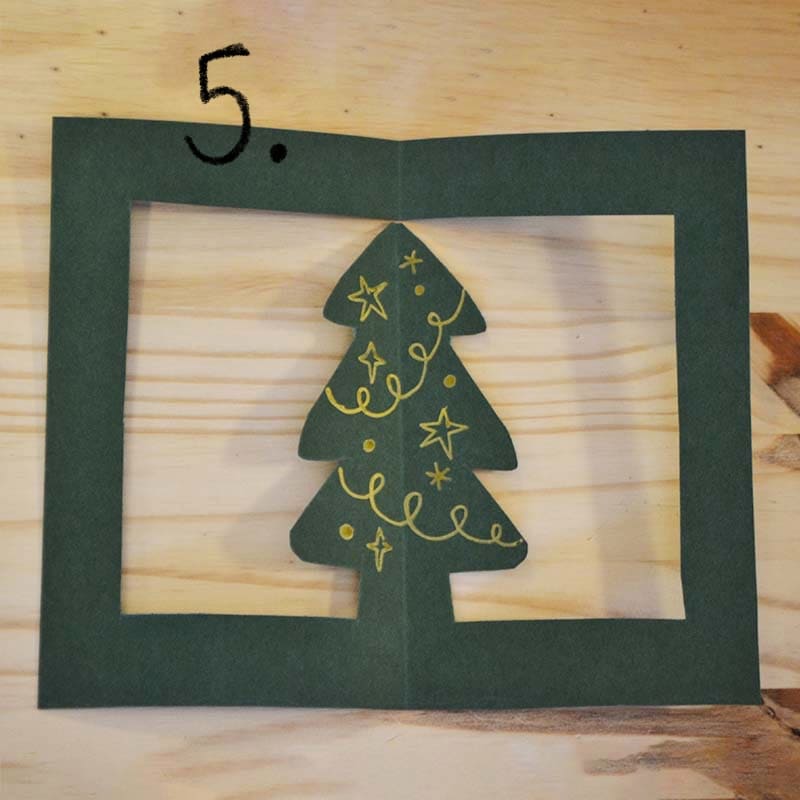 |
Step 5: Decoration Decorate your beautiful tree with your colored markers. |
|
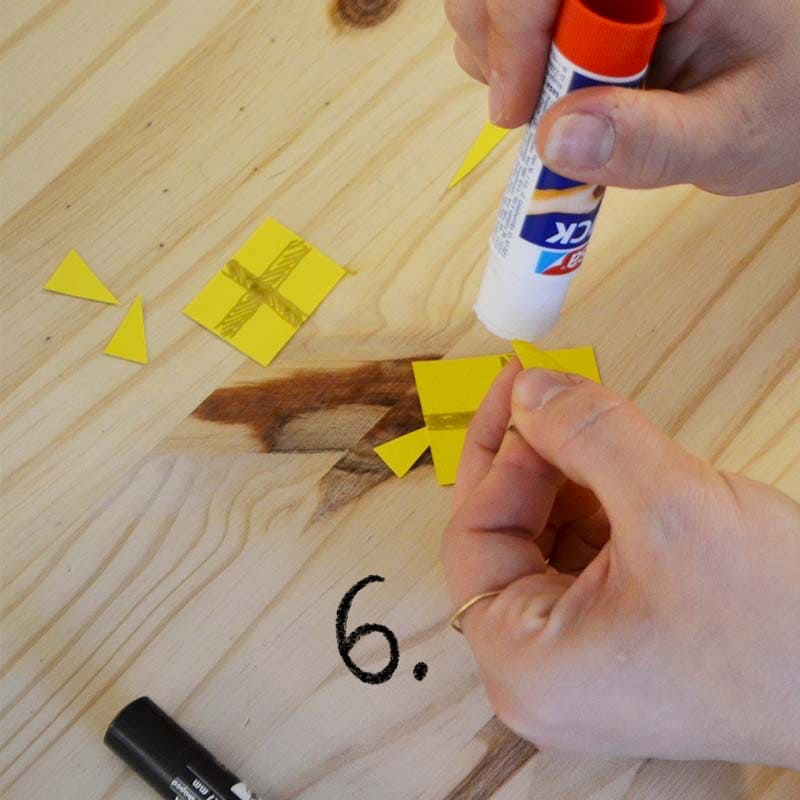
Step 6: Gifts Take your yellow paper and cut out shapes: stars, gifts or balls. Let your creativity speak by playing with shapes and colors. |
 |
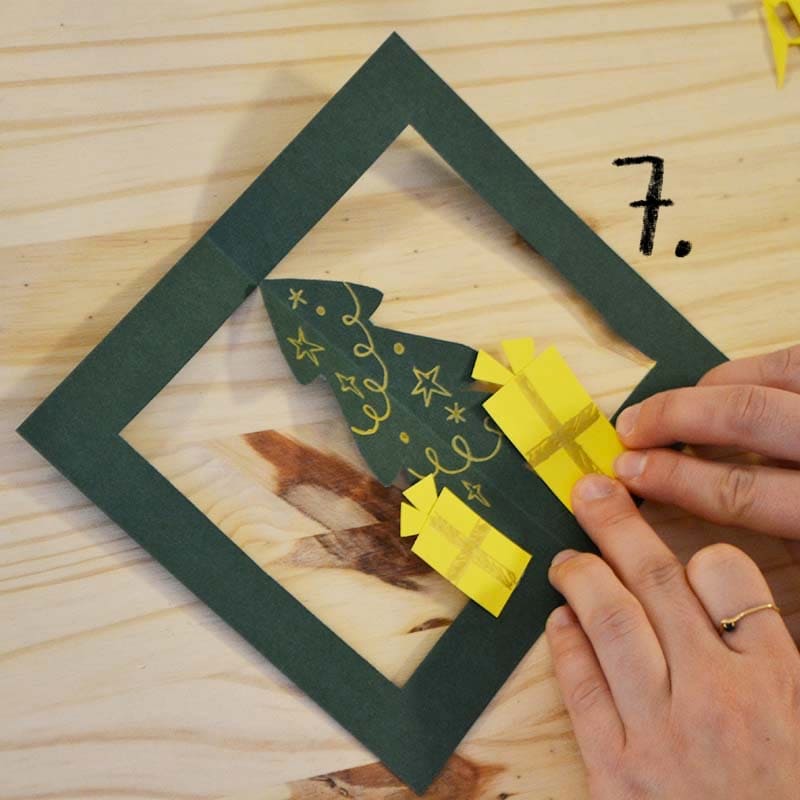 |
Step 7: Glue the shapes Glue the shapes onto the bottom of your green frame, and the foot of the tree. |
|
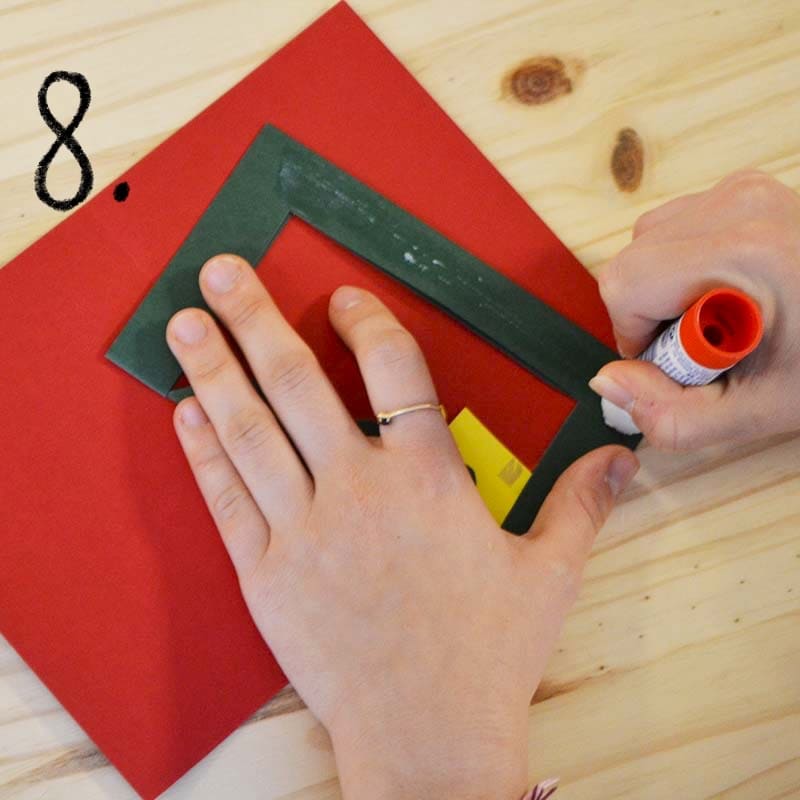
Step 8: Frame glue – Part 1 Glue the right side of the frame to the right edge of the red paper. |
 |
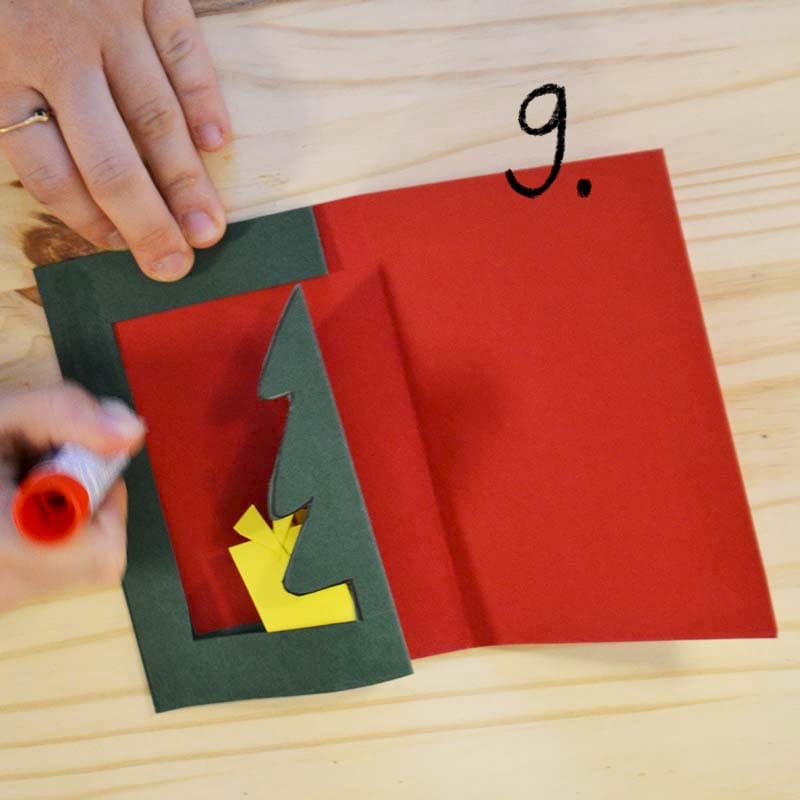 |
Step 9: Frame glue – Part 2 Glue the left side of your green frame onto the left edge of your red paper. |
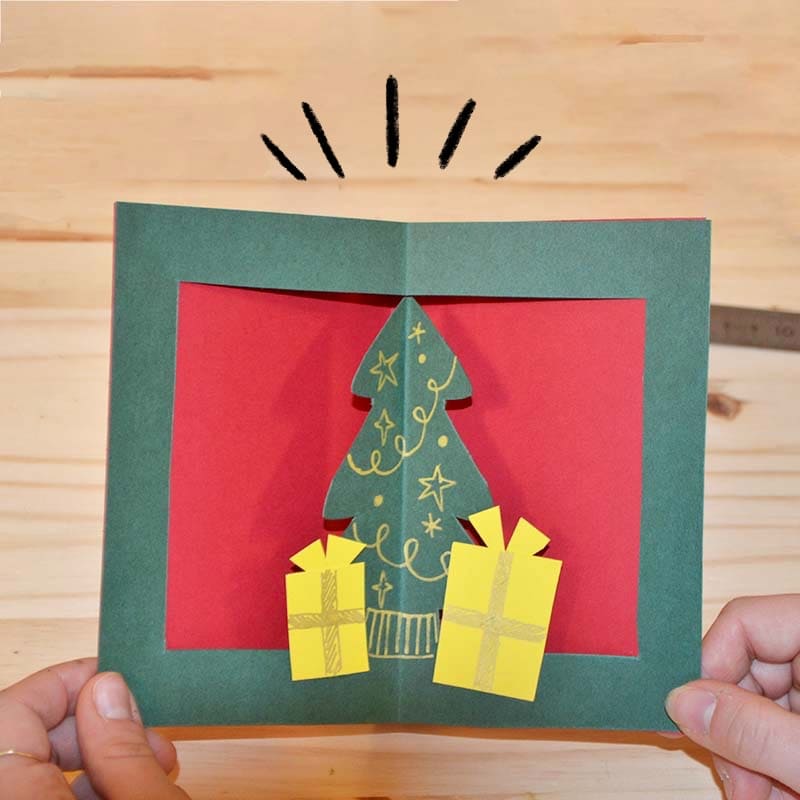
The magic happens! Here is your beautiful Christmas Pop-up card!
All comments